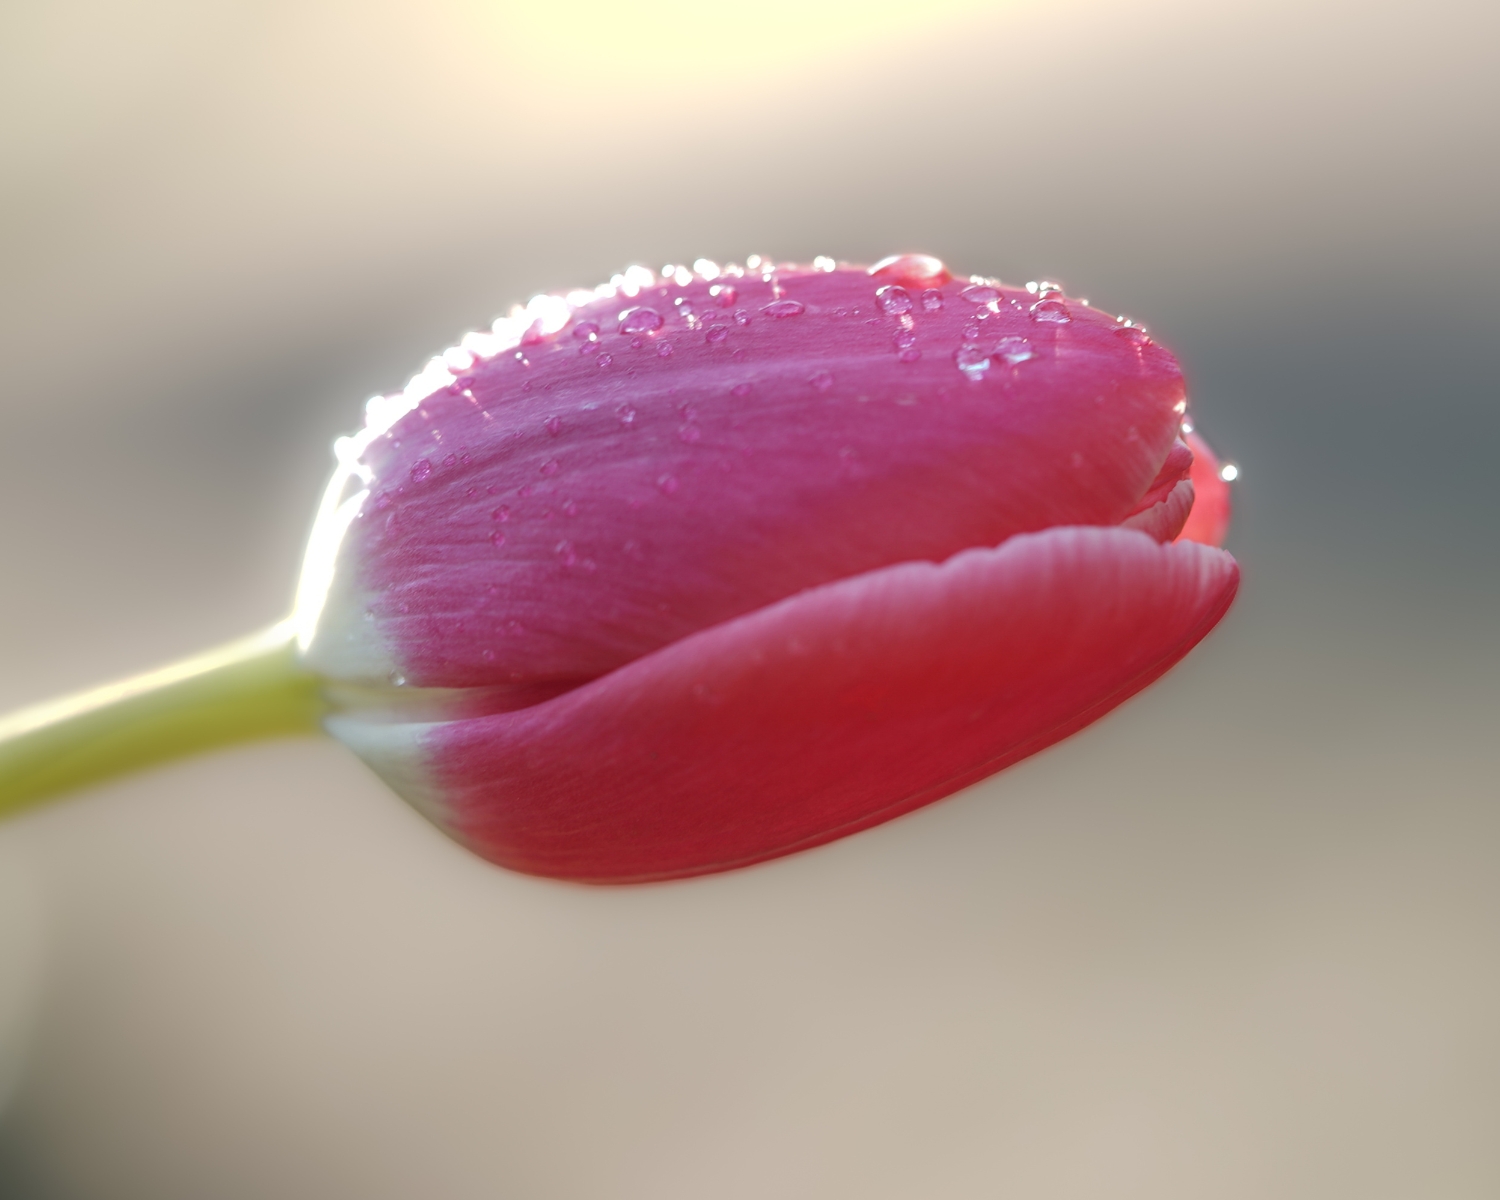
Macro photography is all about capturing the intricate details of small subjects—whether it’s a delicate flower petal, an insect’s wings, or a piece of jewelry. This genre of photography allows you to explore the hidden beauty of the miniature world, revealing details that are often overlooked by the naked eye. If you’re new to macro photography, don’t worry—here’s a beginner’s guide to help you get started and master the basics.
1. Understand the Concept of Magnification
In macro photography, magnification refers to how much larger the subject appears in your image compared to its actual size. A true macro shot involves a magnification ratio of 1:1, meaning the subject appears life-size in the frame. For example, a small insect or a flower petal would be captured with incredible detail. Lenses specifically designed for macro photography, such as macro lenses with 1:1 magnification, are ideal for achieving this level of detail.
2. Choose the Right Lens
To achieve stunning macro shots, you’ll need the right lens. A dedicated macro lens is the best option, as it allows you to focus at extremely close distances without losing sharpness or detail. Macro lenses typically have focal lengths ranging from 50mm to 200mm. A 100mm or 105mm lens is a popular choice for beginners, providing the right balance between magnification and working distance (the distance between the lens and the subject).
3. Use a Tripod for Stability
Macro photography requires extremely precise focusing and steady shots. Even the slightest camera shake can cause blur, especially when shooting at such close distances. To prevent this, use a sturdy tripod to stabilize your camera. This allows you to focus accurately and avoid any unwanted motion in your photos. A tripod with adjustable legs and a flexible head will help you position your camera at different angles.
4. Master Depth of Field
In macro photography, depth of field (DOF) is incredibly shallow, meaning only a small portion of the subject will be in focus. To manage this, use a smaller aperture (higher f-stop) like f/8 to f/16, which increases the DOF and keeps more of your subject sharp. However, be mindful that using a small aperture requires more light, so you may need to adjust your ISO or shutter speed accordingly.
5. Get Creative with Lighting
Lighting is crucial in macro photography to highlight textures, shapes, and colors. Natural light can work beautifully, especially on sunny days, but sometimes you’ll need to use artificial light to properly illuminate your subject. Try using a ring light or a small LED light positioned at different angles to reduce shadows and highlight fine details. Diffusing the light with a softbox or white cloth can create soft, even illumination.
Macro photography opens up a whole new world of possibilities for photographers. By understanding the basics of magnification, choosing the right lens, using a tripod, mastering depth of field, and experimenting with lighting, you can start capturing stunning close-up images of the small wonders around you. With practice and patience, you’ll be able to explore the fascinating details that are often invisible to the naked eye.
#MacroPhotography #PhotographyTips #CloseUpPhotography #LensTips #CameraSettings #PhotographyBeginners #PhotographyLighting #CreativePhotography #PhotographyGear
